
Mastering the Calf: A Guide to the Most Dynamic Tattoo placement
8 days ago
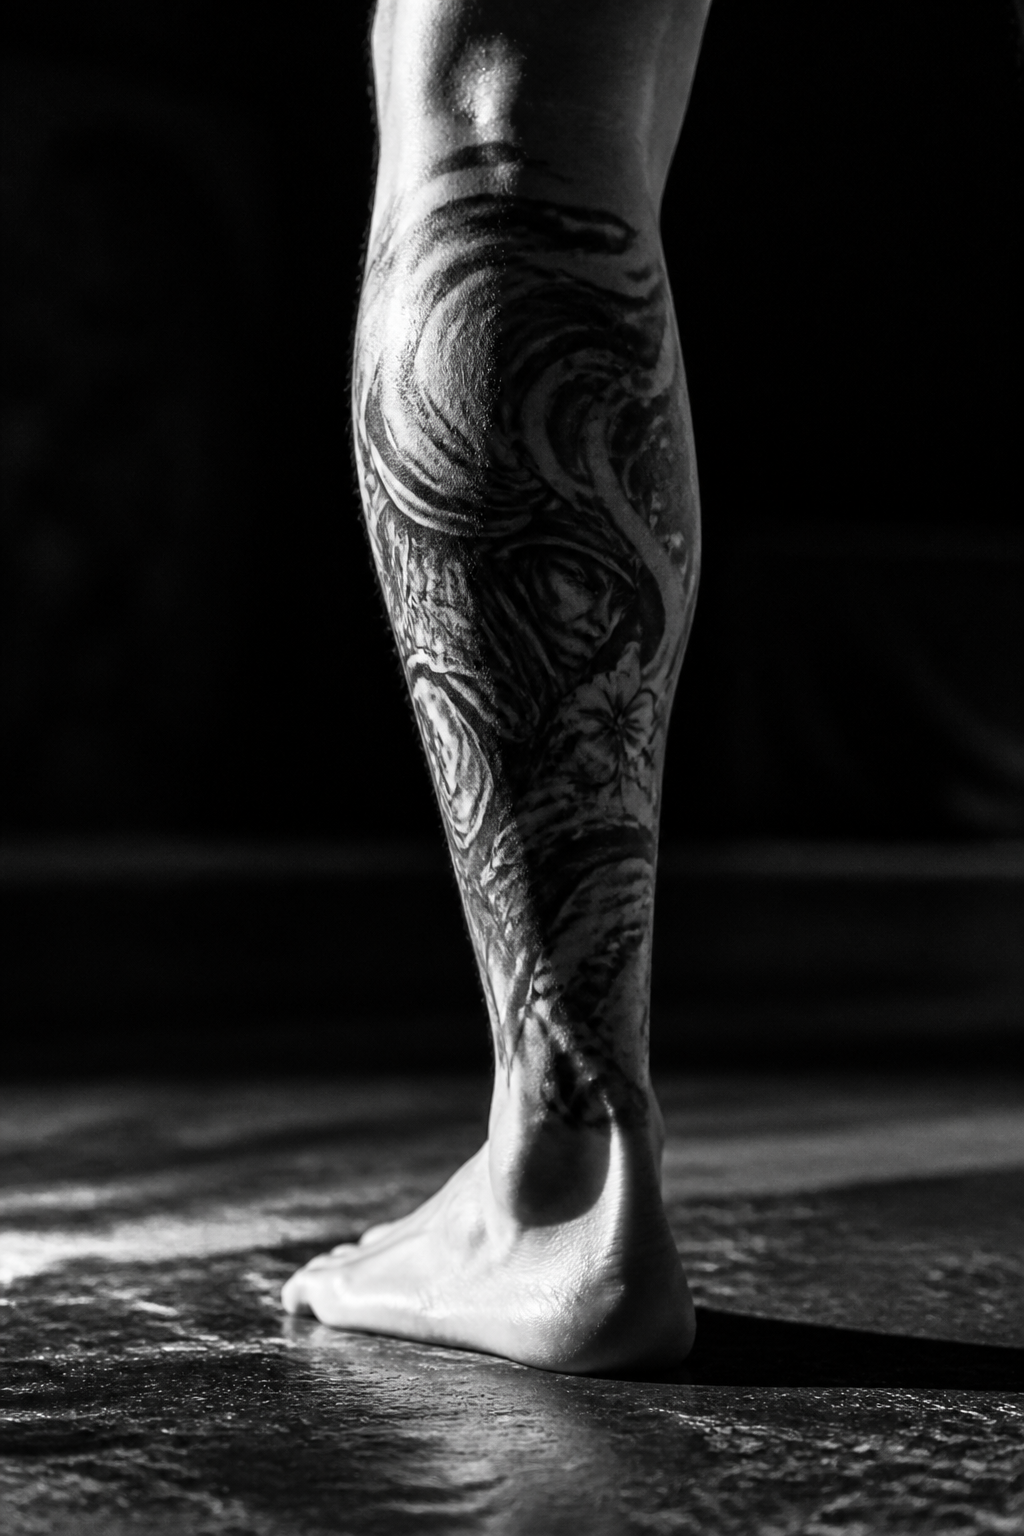
The calf is often overlooked in favor of the thigh or shin, but it offers a unique, expansive canvas that reacts beautifully to movement. When considering this tattoo placement, you are working with a naturally tapered muscle. This means designs need to account for the wrap; a piece that looks straight from the back will curve toward the sides of the leg, creating a 3D effect that shifts as you walk.
Pain-wise, the calf is generally considered a moderate zone. The fleshy back of the leg provides enough cushion to make long sessions manageable, though the experience intensifies as the needle approaches the back of the knee or the Achilles tendon. For those looking to avoid the brutal bite of rib or spine work, this area is a strategic entry point for larger illustrative pieces.
Designing for the calf requires an understanding of anatomy. Vertical motifs—like daggers, botanicals, or elongated geometric patterns—complement the natural flow of the gastrocnemius muscle. A well-placed piece will 'breathe' with the muscle, meaning the artwork won't look distorted when you transition from standing to sitting, provided the artist maps the stencil while you are upright.
One of the biggest perks of calf tattoo placement is its longevity. Unlike hands or feet, the skin on the lower leg doesn't experience high friction or constant cell turnover, and it is easily shielded from sun damage by trousers. This keeps colors saturated and fine lines crisp for years longer than more exposed areas.
Healing a calf piece does require a bit of discipline. Because blood pools in the lower extremities, slight swelling is common during the first 48 hours. Elevating the leg and avoiding restrictive socks or tight denim will ensure the ink settles perfectly. Once healed, the result is a bold, high-contrast statement that is easy to show off or hide as needed.